Gift Challenge: 6 Year-old Boy
A few months ago, I challenged myself to only give gifts that were either handmade, homemade, vintage or repurposed/recycled. I've had it fairly easy up until this point, with only Easter (homemade chocolates) and Mother's Day (a bunch of handmade blooms as mentioned here) but we're coming into prime birthday season here so I've had to put my creative thinking cap on and get cracking.
One of our nephews had his 6th birthday last week and I decided about two months ago that I would make him a gift that would help with his reading and sight words. He's in kindergarten this year, so the challenge was to make it age-appropriate and fun enough to not look like a learning toy.
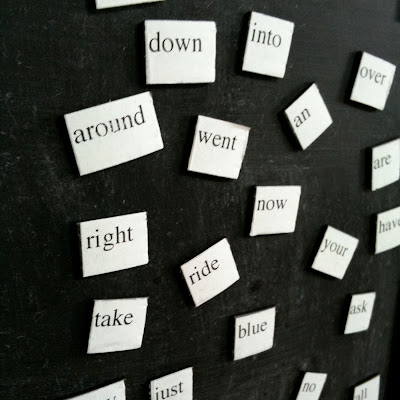
After thinking on the idea for a long time, I eventually came up with a magnetic storyboard. (You know the magnetic words you can buy in gift shops, where you use them to make up funny poems or crass stories on your fridge? Think a six-year-old's version of that.)
You'll need:
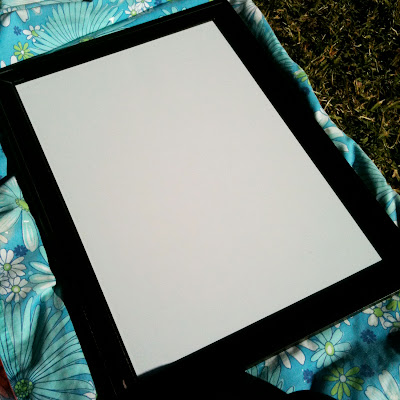
large magnetic whiteboard
OR
large whiteboard
AND magnetic paint (I had trouble finding it, but this would be a cheaper option)
primer (multisurface white undercoat is your best bet)
tin of blackboard spraypaint (I use White Knight as outlined here)
acrylic paint of your colour choice
magnetic tape
scissors
paintbrush
plain paper
list of sight or Dolch words and nouns
1. Prime the frame and magnetic surface of your whiteboard. Allow to dry.
2. Paint the magnetic surface using your blackboard paint, being sure to follow instructions. I've outlined my tips here. A good rule of thumb with spray paint is to either recoat within one hour or wait at least six. I'm impatient so I'm sure to recoat within one hour.
3. Allow the blackboard paint to dry thoroughly. Using a paintbrush and an acrylic paint of your choice, paint the primed frame, being careful to not get paint on the blackboard. Allow to dry and recoat if necessary.
4. Once dry, prepare the chalkboard by rubbing a piece of chalk over the entire surface and then cleaning it off with a damp cloth. It's now ready to use!
5. Print the Dolch word and noun lists as shown here and here. Print them in the tables, as is, this will make the assembly much easier.
6. Put on a good movie and, using the table as a guide, cut out each of the words. I tended to cut close to the first letter and then left a gap of two or three spaces after the last letter, so the words wouldn't run into each other when put in a sentence.
7. Put on another good movie (or maybe season one of Arrested Development) and apply each word to the sticky side of the magnetic tape, pressing down firmly as you go.
8. Cut each word to size.
9. Stick to the board and you're done!
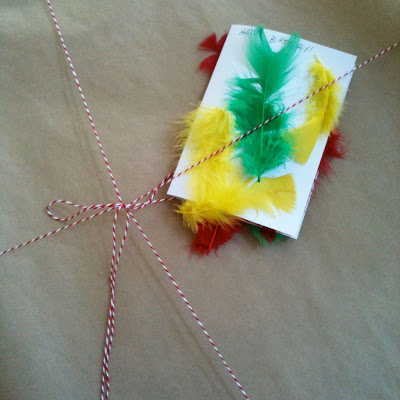
Also be sure to include an amazeballs handmade birthday card (courtesy of Isla).
The birthday boy dug his gift a lot, and was really excited about having his very own blackboard. A few things I would do if I made a gift like this again though:
1. I would spray each of the words, once magnetised, with a gloss spray or a paper sealer. They just tended to get a little grubby with constant handling.
2. Include a couple of magnetic tins to store the words in while not in use. This would keep it much tidier and not as overwhelming for someone who is just learning to read.
3. Include 10 or 20 blank paper magnets, to allow additional words that aren't on the list, as well as names and places that would make story writing more fun.
I'm really enjoying the challenge so far though, and have already started planning Christmas gifts. Between now and then though, I think we've got 8 kids birthdays, a handful of adults and Sparky's 30th, so I'd better keep planning. (And not leave it to the last minute again.)


